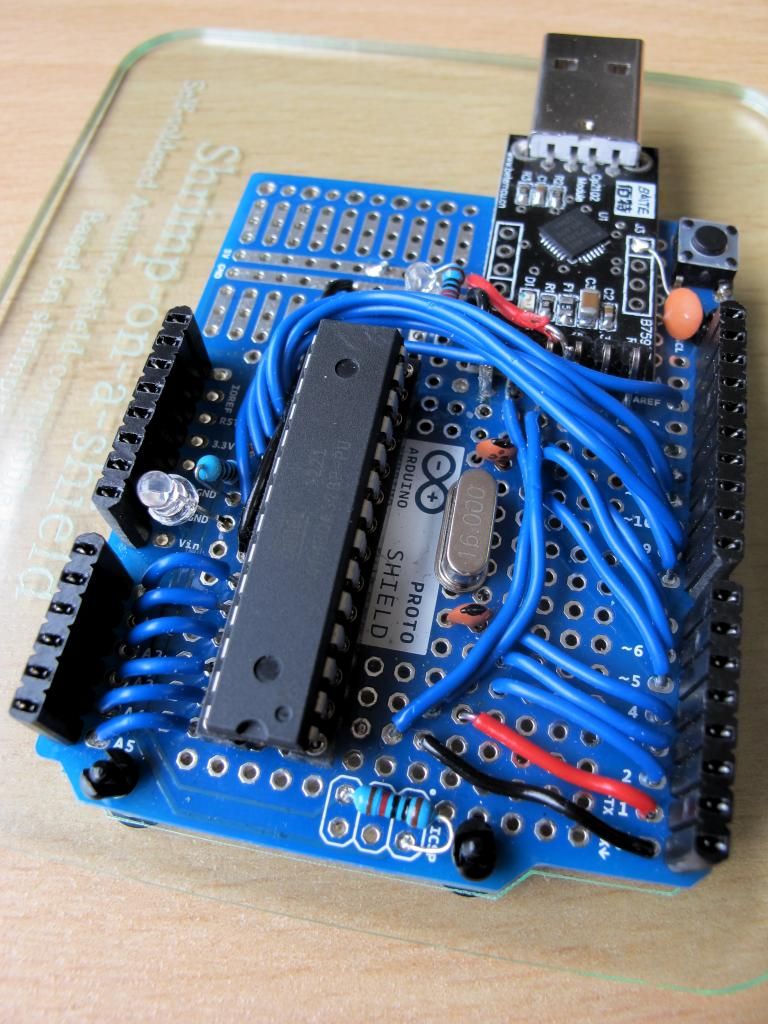
I’ve been describing Arduinos as a “gateway microcontroller” a lot while introducing them to new users. They’re great to get started with, you build your first project include your first Arduino board in it, and then you have to go out and buy another one. And then you’re hooked on Arduinos!
When you’re just starting with Arduino, before you’ve had time to build up your ever increasing collection of microcontrollers, this can seem uncommonly expensive: you have to go back and buy another £25 board, just to include it in your next project and have to spend another £25. But it doesn’t it doesn’t have to be like that…
As well as having other suppliers who produce Arduino compatible boards that are cheaper, the design is open so you can take the components and reuse them in your own circuits. You can ignore the physical layout part of the Arduino and layout the components on a breadboard or include them on a complete board of your whole project as a standalone device.

Stripping back the Arduino to the bare minimum of components is known as a “barebones arduino compatible”. The minimum possible circuit to run is the bare ATMega328 chip with a Lillypad bootloader, although to be practical, most circuits will need a few external components. One project that strips the Arduino down to a minimum and is made to be suitable for beginners is Shrimping.it.
I’ve taught Shrimp kit building to beginners from 8 year olds to adults and it’s surprisingly easy to get on with. Push the components into a breadboard, connect to a USB port on your computer for power and it will start flashing its LED. If you open the Arduino IDE, open one of the example sketches and press upload, you can start building the Arduino examples just the same as if you had the official blue board.

You could even solder the shrimp to a blank Arduino shield and have your own, home built Arduino clone for about £10 in parts!
At around £10 for a cheap clone, or £6 for a Chinese copy, this is less useful than it first seems — the time to build makes it unprofitable — although that didn’t stop me trying it out!
The Shrimping.it diagrams are focused around making single circuits and the time limitations of classroom teaching mean that a building up single fixed projects is the best way of explaining the circuits. When I use Shrimp layouts, I’m often working on something new, so I want to work with the Arduino pin numbers (which are available on separate sheets but aren’t on the Shrimp diagrams), these happen to be in a different arrangement on the ATMega chip than they are on the Arduino board.
To have that information right in the place I’m using it, I whipped up an alternative Shrimp layout that includes the Arduino pin numbers. Because I have parts that have some different footprints than the ones in the official Shrimping.it layout I’ve made a couple of adjustments for position, but this layout is closer in theme to the standard Shrimp than to a Breadboard Arduino Compatible.

